
How To Set Up For a Mobile Spray Tan Appointment
Nov 17, 2021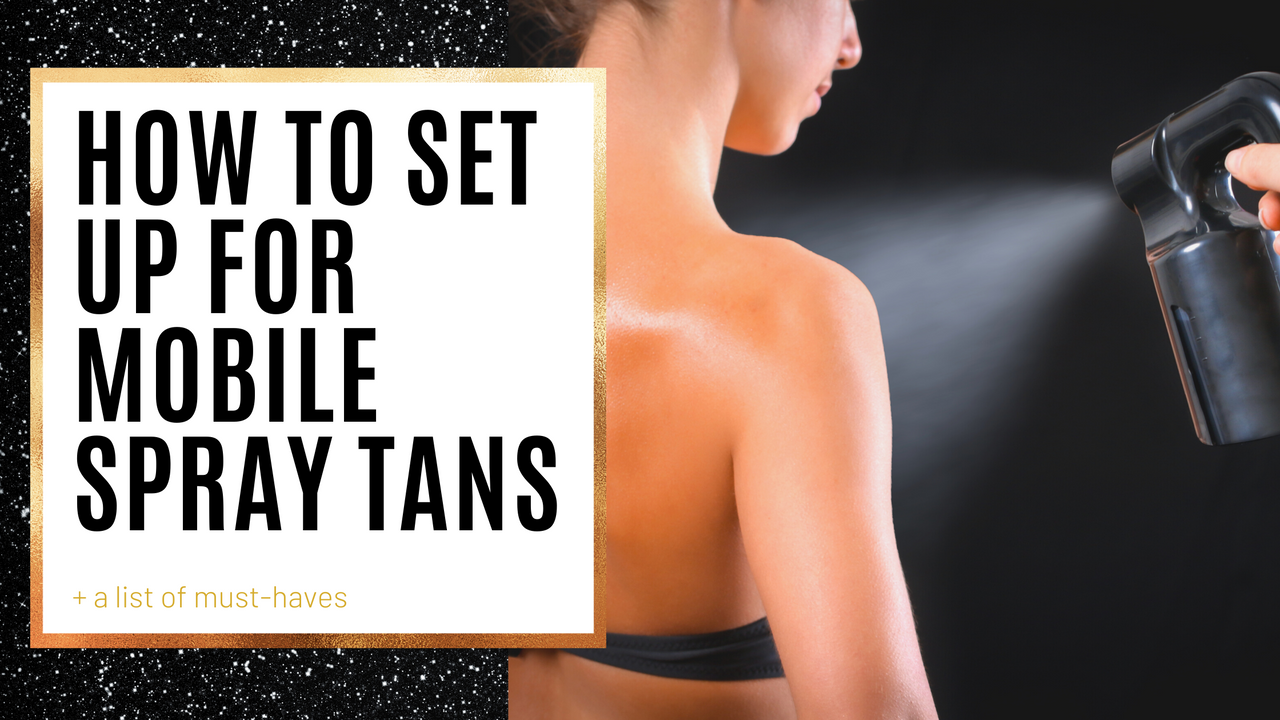
You’ve finally done it, babe!! Congrats, you took the leap of faith and launched your mobile spray tanning business. You did all the things; you chose a cute af business name, registered for your business license, took your certification and bought all the things to set you up for success. But now you have your first client and you have to set everything up for the real thing! Don’t freak out, because we are going to teach you how to properly set up for your mobile tans in a way that is efficient and professional.
First things first, let’s go through a checklist of things you should bring to your appointment:
- Mobile spray tan tent
- Air compressor system
- Spray tan gun
- Backup spray tan gun (just in case)
- Solutions of your choice
- Barrier Cream
- Prep spray
- Gloves
- Nose plugs
- Hair nets
- Sticky feet
- Eye winkies
- Baby wipes/paper towels
- Two large towels
- Face masks (optional)
- Lighting system
- Disposable undergarments
- Drying powder (optional)
- Brushes/buffing puffs
- Chapstick/vaseline
- Extension cord
- Extraction fan
That should do it! I know what you’re thinking… “over 20 items!? That seems like a lot!” Well, let’s calm you down and walk through your setup together!
Step One
When you first arrive at your client’s location, you will find a spot big enough to fit your pop up tent that is close to an outlet. The first step you’ll do is set up your tent.
Step Two
Once you have your tent popped open, take out your two full size towels and lay one on the inside of your tent to cover the bottom and then lay one horizontally parallel to the outer edge of your tent to protect the flooring.
Step Three
Next you will take your extension cord and plug it into a nearby outlet.
Step Four
Take out your lighting system to plug in. You can use a ring light, string lights that attach to the inside of your tent or aluminum clamp lights that can be attached to the edge of either side of the tent.
Step Five
Take out and organize everything you’ll be using during your appointment. This includes: Prep spray, barrier cream, gloves, nose plugs, hair nets, eye winkies, baby wipes, disposable underwear (in case it’s requested by the client), setting powder, face mask (if you choose to wear one to protect yourself from breathing in solution), chapstick, and brushes for buffing or fixing any mistakes.
Step Six
Get out your compressor system, attach the hose and plug in.
Step Seven
Fill your gun with the proper solution.
Step Eight
Set up an extraction fan. This is especially recommended if you’re spraying multiple clients at one time to limit the amount of over spray that escapes the tent.
Step Nine
Lay out your sticky feet so that they are ready for your client to step onto when getting into the tent.
This may seem like an overwhelming amount of products and steps to take when setting up for your mobile appointments, but remember Glow Boss, mobile appointments still only take about 30 minutes, so all of this goes very quickly! Not to mention, once you get your first couple appointments down, you’ll be a pro at figuring out the best way to navigate your setup.
If you read through our list and realized you need to stock up on a few more things, head on over to xtansunless.com and shop for all of your equipment needs!
Xoxo,
Kelly
